ADVERTISEMENT
Instructions
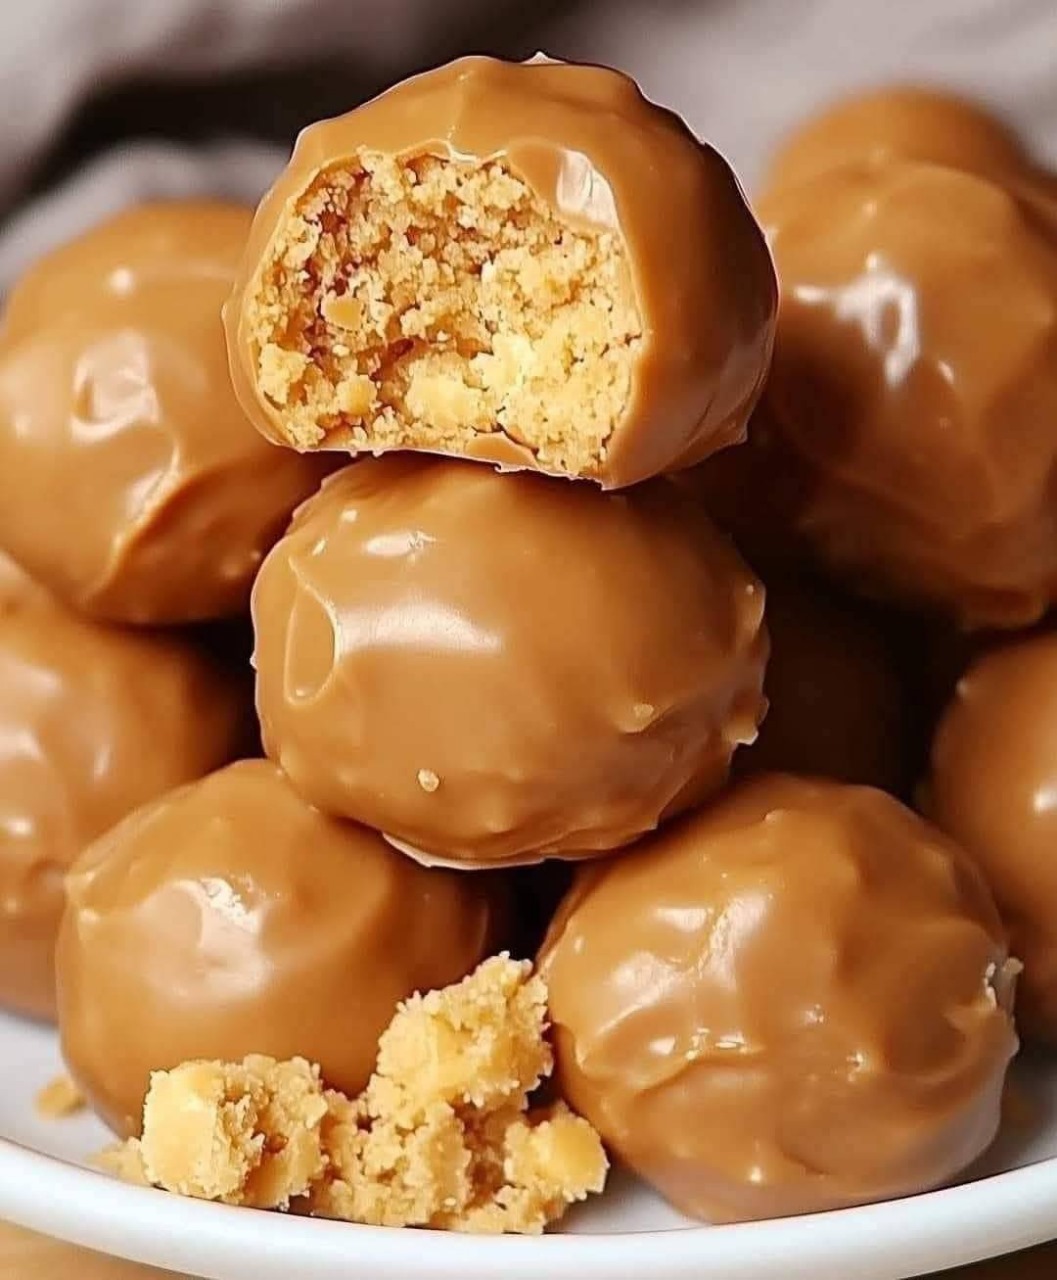
Melt the Candy Corn:
In a large microwave-safe bowl, melt the candy corn in 30-second intervals, stirring between each, until completely smooth.
Mix with Peanut Butter:
Add peanut butter to the melted candy corn and stir until well combined.
Add the Cereal:
Mix in the crispy rice cereal until the mixture is evenly coated.
Form Balls:
Roll the mixture into 1-inch balls and place them on a parchment-lined baking sheet.
Chill:
Refrigerate the balls for about 15–20 minutes while you prepare the chocolate coating.
Melt the Chocolate:
In a microwave-safe bowl, melt the chocolate chips in 30-second intervals, stirring until smooth.
(Optional: Add 1 tsp coconut oil for a glossier finish.)
Dip the Balls:
Use a fork or toothpick to dip each chilled ball into the melted chocolate. Tap off the excess and return to the parchment paper.
Let Set:
Let the chocolate set at room temperature, or place the tray in the refrigerator to speed up the process.
Tips for Perfect Butterfinger Balls
✅ Use fresh ingredients (especially peanut butter and cereal) for best taste and texture.
✅ Work quickly after melting candy corn, before the mixture stiffens.
✅ Chill sticky dough briefly if it’s hard to shape.
✅ Use high-quality chocolate for smoother coating.
✅ Add sprinkles, crushed nuts, or a white chocolate drizzle for a festive touch.
Storage Tips
Room temperature: Up to 5 days in a cool, dry place.
Refrigerator: Keeps fresh for up to 2 weeks.
Freezer: Store in a freezer-safe container for up to 3 months.
👉 To freeze, place in layers with wax paper in between.
👉 To serve, thaw in the fridge overnight for best texture.
Enjoy These Easy, Chocolatey Treats Anytime!
Whether for holiday trays, lunchbox surprises, or midnight snacks, Homemade Butterfinger Balls are a quick, satisfying way to treat yourself and your loved ones—no oven required!
ADVERTISEMENT
