ADVERTISEMENT
You only need two things:
-
A Rimmed Baking Sheet (often called a half-sheet pan, approx. 13×18 inches). The rim is essential for containing the grease.
-
Parchment Paper or Aluminum Foil. This is the real pro-move for effortless cleanup.
Optional but Helpful:
-
A wire cooling rack (for extra-crispy results).
The Foolproof, Step-by-Step Oven Method
Step 1: Prep the Pan (The Key to Cleanup)
-
Preheat your oven to 400°F (200°C). No need to wait for it to fully preheat to start prepping.
-
Line your rimmed baking sheet with a large piece of parchment paper or aluminum foil. This creates a non-stick surface and makes cleanup a matter of simply throwing the grease-soaked paper away.
Step 2: Arrange the Bacon
-
Lay the bacon strips in a single layer on the prepared pan. It’s okay if they touch slightly; they will shrink as they cook.
-
For Standard Crispy Bacon: Lay the strips directly on the parchment/foil.
-
For Extra-Crispy Bacon: Place a wire cooling rack on top of the baking sheet and lay the bacon on the rack. This allows hot air to circulate underneath, cooking the bacon from all sides.
Step 3: Bake to Perfection
-
Place the pan in the preheated oven.
-
Bake for 15-25 minutes. The cooking time depends entirely on the thickness of your bacon and your desired level of crispiness.
-
Thin-Cut Bacon: Start checking at 12-15 minutes.
-
Regular or Thick-Cut Bacon: Will take 18-25 minutes.
-
-
No flipping is required! The oven does all the work.
Step 4: Drain and Serve
-
Carefully remove the pan from the oven—it will be hot and full of grease!
-
Use tongs to transfer the bacon to a plate lined with paper towels to drain any excess grease.
-
Serve immediately and enjoy the crispiest, most perfect bacon of your life.
Pro Tips for Absolute Bacon Brilliance
-
Save That Grease! Once the grease on the pan cools slightly but is still liquid, carefully pour it through a fine-mesh sieve into a heatproof jar (a mason jar works perfectly). Store it in the fridge for up to a month and use it to fry eggs, roast potatoes, or make delicious cornbread. It’s liquid gold!
-
Season It Up: For a flavor boost, sprinkle the bacon with a little fresh cracked black pepper or a light dusting of brown sugar or maple syrup before baking. (Watch carefully if using sugar, as it can burn faster.)
-
Check for Doneness: Bacon continues to crisp up as it drains on the paper towels. It’s better to pull it out when it’s almost as crispy as you like it.
-
Cold Oven Start? Some people swear by placing the bacon in a cold oven and then setting it to 400°F. This can work well, but we find a preheated oven gives more consistent results, especially for thicker cuts.
Frequently Asked Questions (FAQ)
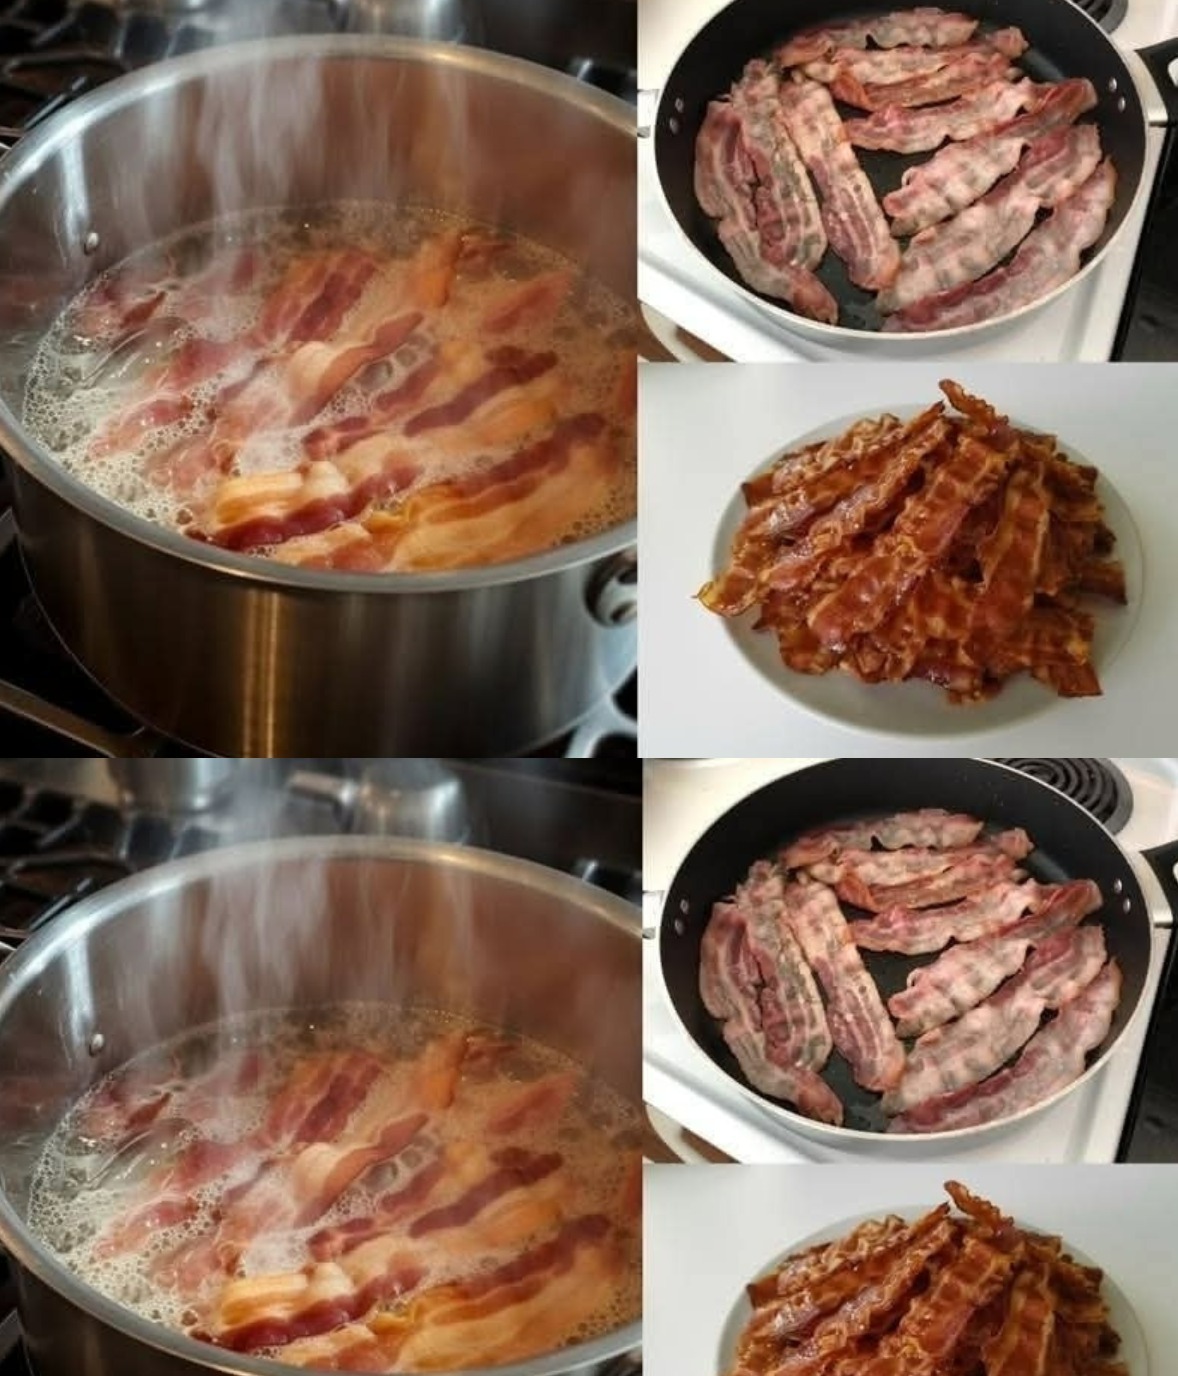
Q: Is this method really that much better than the stovetop?
A: Yes, 100%. In terms of cleanliness, ease, and consistent results, the oven method is superior. The only advantage of the stovetop is speed for a very small batch.
Q: Can I cook turkey bacon this way?
A: Absolutely! The method is the same. Because turkey bacon is leaner, keep a close eye on it as it may cook faster and can dry out.
Q: My bacon is always chewy, not crispy. What am I doing wrong?
A: You’re likely under-baking it. Leave it in the oven for a few more minutes. For guaranteed crispiness, use the wire rack method. Also, ensure your oven is fully preheated.
Q: How do I clean the pan if I didn’t use parchment paper?
A: Don’t pour the hot grease down the drain! Let the pan cool until the grease solidifies. Then, you can easily wipe it out with a paper towel and wash the pan as usual.
ADVERTISEMENT
