ADVERTISEMENT
Lady Paints Rocks with Tiny Pictures — This Is the Cutest Garden Idea I’ve Seen All Season!
Instructions
-
Collect and clean your rocks. Gather smooth, flat stones from your yard or purchase them from a craft store. Wash them thoroughly and allow them to dry completely.
-
Plan your designs. Sketch or decide on simple pictures, like herbs, vegetables (e.g., tomatoes, basil, lavender), or abstract patterns.
-
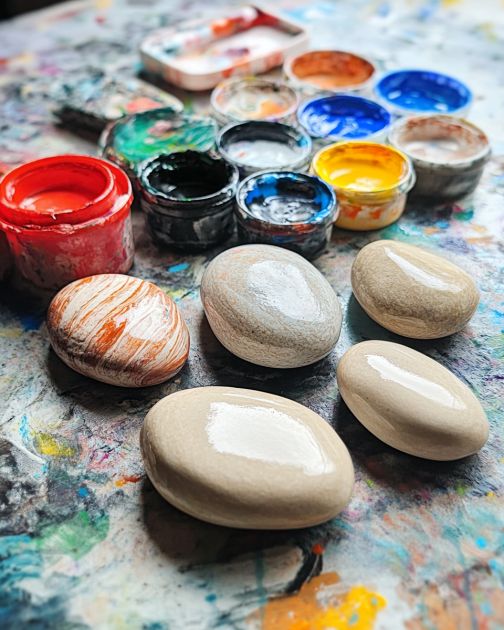
Set up your painting station with your materials. Pour small amounts of paint onto a palette or plate.
-
Paint the rocks. Use a fine-tipped brush to apply your design, starting with the base shapes and layering in details. Let each color dry before applying the next to prevent smudging.
-
Seal your artwork. Once your design is completely dry, spray each rock with a clear acrylic sealer to protect it from weather and wear. Follow the sealer instructions for best results.
-
Place the rocks in your garden. Position them near their matching plants or herbs to serve as cheerful and functional markers.

Variations & Tips
-
Try themed sets. Create seasonal collections: spring flowers, summer fruits, or autumn leaves.
-
Add names. Personalize rocks with the names of family members, friends, or pets—place them in their favorite garden spots!
-
Play with textures. Use sponges, stamps, or even toothbrush splatter techniques to give your rocks extra flair.
-
Get the kids involved. This project is perfect for family crafting days—just supervise the use of sealer spray.
Let your imagination run wild! With just a little paint and creativity, these tiny masterpieces will turn your garden into a gallery of joy and color.
ADVERTISEMENT
