ADVERTISEMENT
Step-by-Step: How to Thread a Needle Using a Bottle Cap
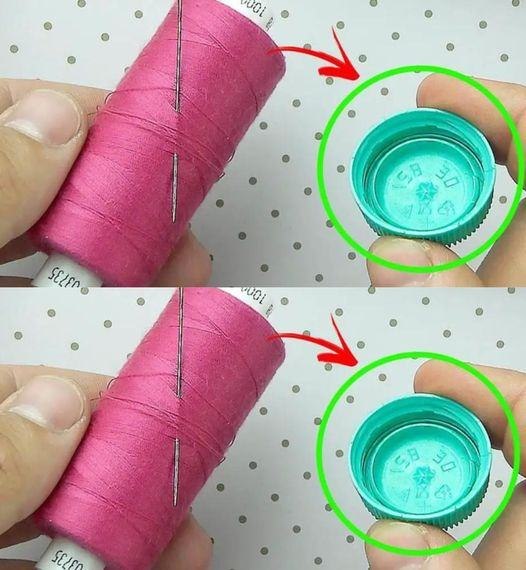
1. Cut the Bottle Cap
Carefully cut a small slit or hole near the top edge of the bottle cap. This will serve as a channel for the wire to slide through. Don’t cut the whole cap—just enough to insert the wire snugly.
2. Shape the Wire
Take the wire and form a tiny hook or loop at one end—small enough to pass through the eye of a needle. This hook will grab the thread during the process.
3. Insert the Wire
Thread the hooked end of the wire into the inside of the bottle cap through the hole you made. The hook should be positioned inside the cap, ready to hold the thread.
4. Use Your DIY Threader
-
Place the needle into the cap so that its eye is aligned with the hook.
-
Place your thread in the hook.
-
Gently pull the wire back out through the hole in the cap—bringing the thread through the needle’s eye effortlessly!
Why This Works
This DIY tool acts like a simple mechanical threader. The bottle cap gives you something easy to hold onto, and the wire hook does the hard work of guiding the thread through the tiny needle eye. It’s especially handy for people with arthritis, shaky hands, or anyone tired of squinting!
Final Tip
You can even keep this homemade threader in your sewing kit for quick fixes. Once you try it, you may never go back to struggling with thread again.
Try it today and enjoy hassle-free sewing with this surprisingly simple and effective solution! 🧵✨
ADVERTISEMENT
