ADVERTISEMENT
- Apply baby oil directly to the affected area
- Let it sit for 5-10 minutes to penetrate
- Gently rub with a soft cloth or plastic scraper
- Wipe clean with a damp cloth
- Wash the area with soap and water to remove oil residue
What It Removes:
- Bumper sticker residue
- Tree sap and bird droppings
- Road tar and asphalt
- Price tag adhesive
- Temporary registration stickers
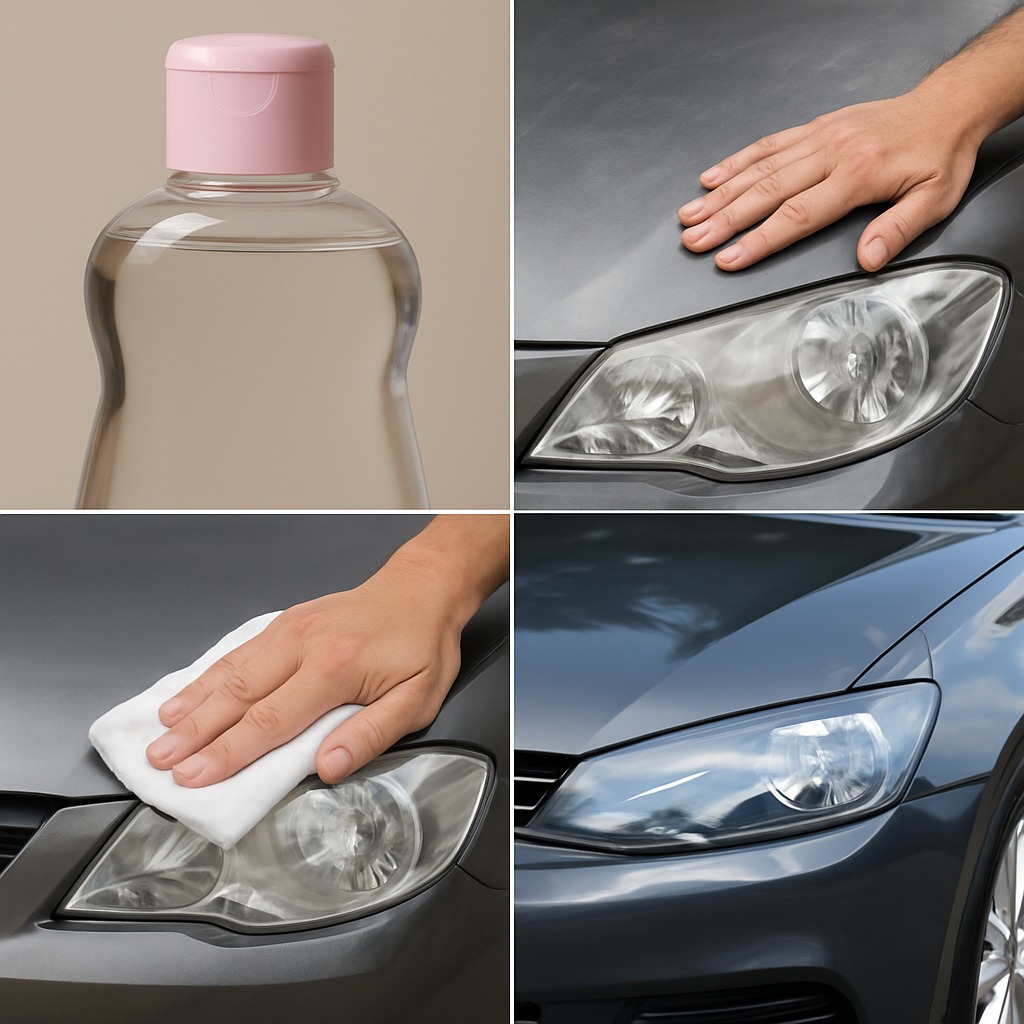
3. Revive Faded Plastic and Trim 🚘
The Problem: Sun damage has left your plastic bumpers, door handles, and trim looking gray and faded.
The Solution: Baby oil penetrates plastic to restore its original dark, rich appearance.
How to Do It:
- Clean the plastic surface first
- Apply a small amount of baby oil to a cloth
- Rub into the faded plastic using circular motions
- Allow to penetrate for 2-3 minutes
- Buff with a clean cloth to remove excess oil
Best For:
- Exterior plastic trim
- Door handles and mirrors
- Bumper plastic
- Window moldings
- Dashboard surfaces (use sparingly)
Long-term Benefits: Regular treatment can help prevent future UV damage and cracking.
4. Create a Dust-Repelling Interior Finish 🏁
The Problem: Your dashboard and interior surfaces attract dust constantly.
The Solution: Baby oil creates an anti-static barrier that repels dust and debris.
How to Do It:
- Use very sparingly – less is more for interiors
- Apply a tiny amount to a microfiber cloth
- Wipe down dashboard, console, and door panels
- Buff thoroughly to prevent any greasy feel
- Focus on hard plastic surfaces only
Interior Areas to Treat:
- Dashboard (non-leather areas)
- Center console
- Door panels
- Cup holders
- Air vents (exterior only)
Safety Note: Avoid using on steering wheels, pedals, or any surface you need to grip securely.
Expert Tips for Best Results
Do’s:
- Always test on an inconspicuous area first
- Use high-quality microfiber cloths
- Work in small sections
- Apply thin, even coats
- Buff thoroughly to prevent attracting dirt
Don’ts:
- Never apply to hot surfaces
- Don’t use on leather upholstery
- Avoid windshields and windows
- Don’t oversaturate surfaces
- Never apply to brake components
Cost Comparison: Baby Oil vs. Professional Products
| Product Type | Average Cost | Baby Oil Alternative | Savings |
|---|---|---|---|
| Car Wax | $15-30 | $3 bottle baby oil | 70-90% |
| Adhesive Remover | $8-15 | Baby oil | 60-80% |
| Plastic Restorer | $12-25 | Baby oil | 75-90% |
| Interior Protectant | $10-20 | Baby oil | 70-85% |
When to Use Professional Products Instead
While baby oil is incredibly versatile, there are times when specialized products are worth the investment:
- Paint correction: For scratches or oxidation
- Long-term protection: Ceramic coatings or high-end waxes
- Leather care: Dedicated leather cleaners and conditioners
- Glass cleaning: Automotive glass cleaners for streak-free results
Maintenance Schedule
For optimal results, incorporate baby oil treatments into your regular car care routine:
- Weekly: Quick shine touch-ups
- Monthly: Full exterior treatment and interior dusting
- Seasonally: Deep plastic restoration treatments
Environmental Benefits
Choosing baby oil for car care isn’t just economical – it’s also environmentally conscious:
- Reduces plastic waste from specialized product containers
- Uses a product you likely already have at home
- Mineral oil is biodegradable
- Reduces chemical runoff compared to harsh automotive chemicals
Conclusion
Baby oil proves that effective car care doesn’t have to be expensive or complicated. With just one affordable product, you can achieve professional-looking results across multiple areas of car maintenance. From restoring that showroom shine to protecting your interior from dust, baby oil is truly a versatile car care superhero.
Remember to always test any new product on a small, hidden area first, and don’t be afraid to experiment with techniques to find what works best for your vehicle. Your car – and your wallet – will thank you!
ADVERTISEMENT
