ADVERTISEMENT
How to Make a Very Cheap Bee Waterer
Step-by-Step Guide:
-
Choose a location:
Pick a sunny, sheltered spot near flowering plants. Avoid windy or shaded areas where bees might get cold. -
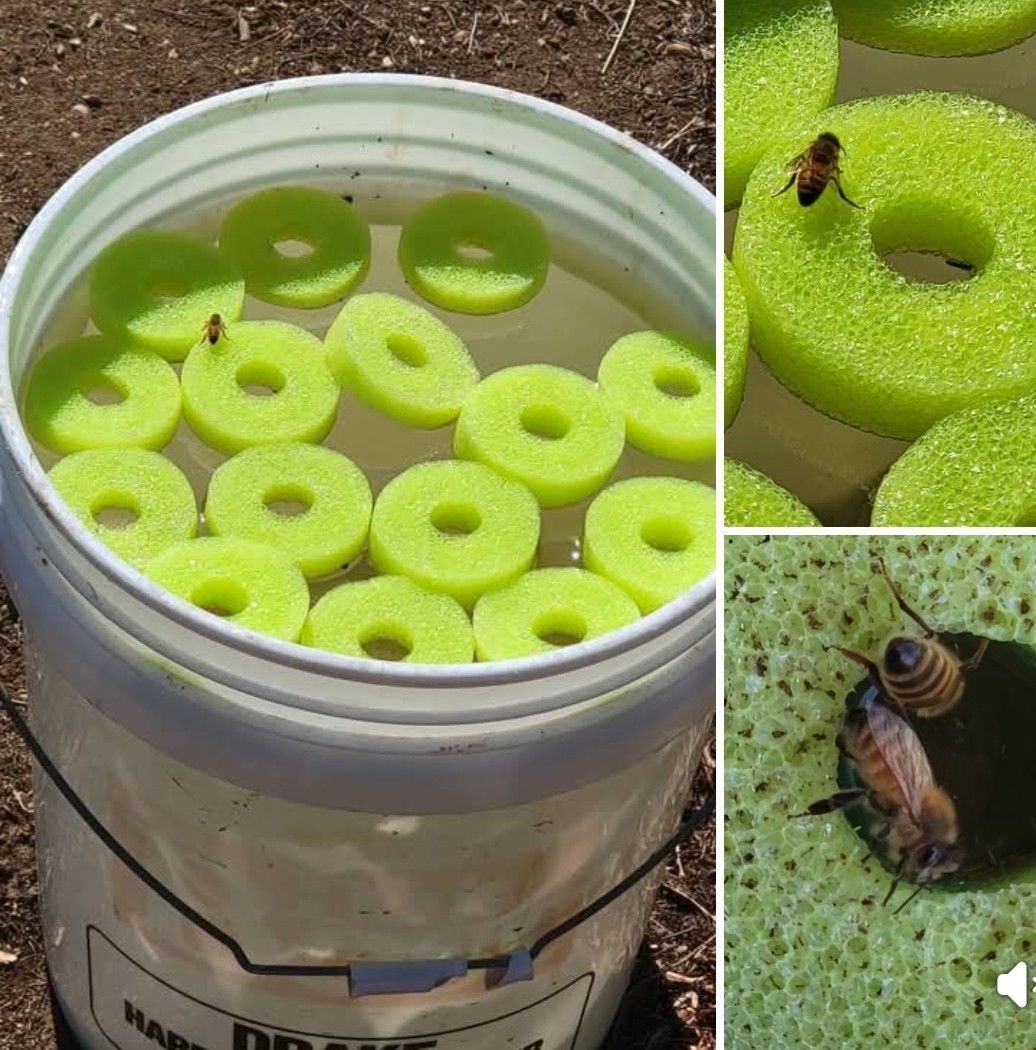
Prepare the dish:
Place the shallow dish or saucer on the ground or a stable surface. Fill it with clean water. -
Add pebbles or marbles:
Fill the dish with enough rocks or marbles so that they rise above the water’s surface. These act as safe landing spots, preventing bees from drowning. -
Set it in place:
Place the waterer in your chosen spot. Refill and clean it regularly to keep bees coming back.
Maintenance Tips
💧 Change the Water Regularly
-
Refill the dish as needed, especially in hot weather.
-
Prevent stagnant water, which attracts mosquitoes and becomes unsafe for bees.
🧼 Clean Often
-
Use a gentle brush and mild soap to clean the dish.
-
Rinse thoroughly to ensure no soap residue remains.
🪨 Inspect the Pebbles or Marbles
-
Check regularly for dirt, slime, or algae buildup.
-
Rinse or replace them to maintain a clean and safe landing surface.
Final Thoughts
Creating a bee waterer is a small act with a big impact. For just a few dollars, you can help support the bees that keep your garden beautiful and our ecosystems thriving.
So next time you see bees buzzing around your flowers, give them a safe place to stop, sip, and recharge.
Happy gardening — and thank you for helping the bees! 🐝🌸
ADVERTISEMENT
