ADVERTISEMENT
Instructions:
1. Activate the Yeast:
In a small bowl, combine warm water, sugar, and yeast. Stir gently and let it sit for about 5-10 minutes. The mixture should start to bubble or foam, indicating that the yeast is active.
2. Prepare the Dough:
In a large mixing bowl, combine the flour, salt, and (optional) baking powder. If you prefer a richer taste, you can add 1 tablespoon of olive oil or melted butter at this stage.
Pour in the activated yeast mixture into the flour and mix to form a dough. You can use your hands or a spoon for this.
3. Knead the Dough:
Once the dough comes together, transfer it onto a lightly floured surface. Knead for about 5-7 minutes, or until the dough is smooth and elastic. Add a little more flour if the dough is too sticky, but be careful not to add too much.
4. Rest the Dough:
Place the kneaded dough into a lightly oiled bowl, cover it with a clean kitchen towel, and let it rest for about 1 hour. The dough should double in size.
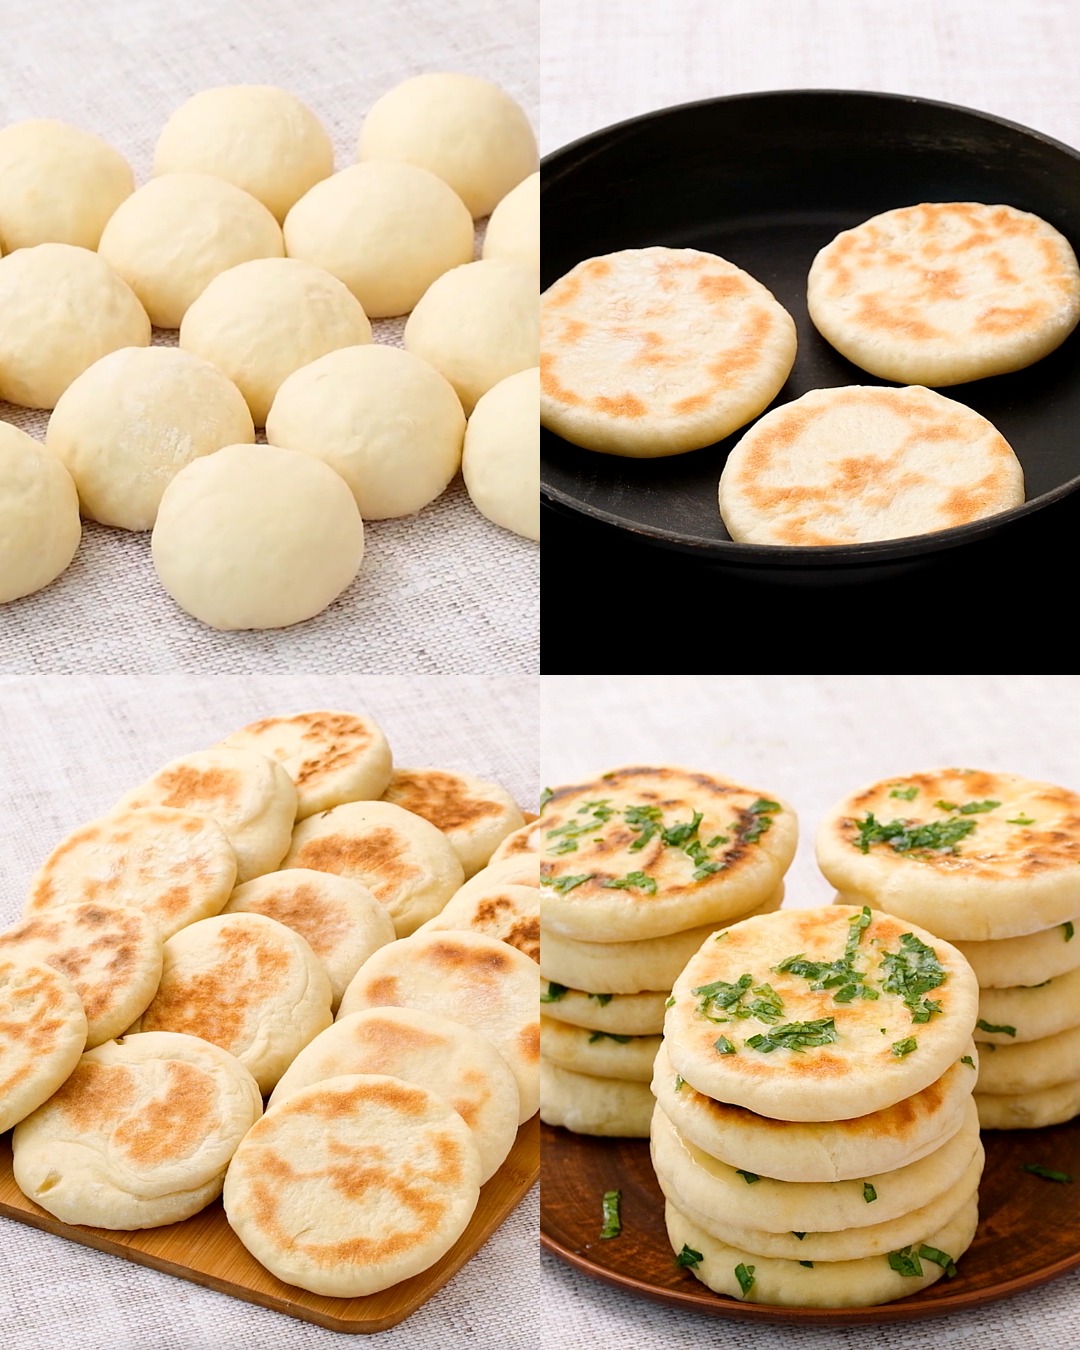
5. Shape the Buns:
After the dough has risen, punch it down to release any air bubbles. Divide the dough into small, equal portions, depending on how big you want your buns. Roll each portion into a smooth ball or flatten it into a disc shape.
6. Cook the Buns in a Pan:
Heat a large, non-stick skillet or frying pan over medium heat. If you like, you can brush the pan with a little oil or melted butter for extra flavor.
Place the dough balls (or discs) into the pan, being careful not to overcrowd the pan. Cover the pan with a lid to trap steam and ensure the buns cook through.
Cook each side for about 2-3 minutes until golden brown and slightly puffed. If the buns are not fully cooked inside, reduce the heat and cook for a little longer with the lid on.
7. Serve and Enjoy:
Once your buns are golden and fluffy, remove them from the pan and let them cool slightly. Serve warm with your favorite spreads, dips, or fillings.
Tips for Success:
Flavor Variations: You can add herbs (like garlic or rosemary) or spices (such as cumin or paprika) to the dough for a unique flavor.
For Extra Softness: Brush the finished buns with melted butter right after cooking for added softness and flavor.
Storage: These buns are best eaten fresh but can be stored in an airtight container for a day or two. You can reheat them in a pan for a couple of minutes to revive their fluffiness.
Enjoy your fluffy homemade buns!
ADVERTISEMENT
