ADVERTISEMENT
ADVERTISEMENT
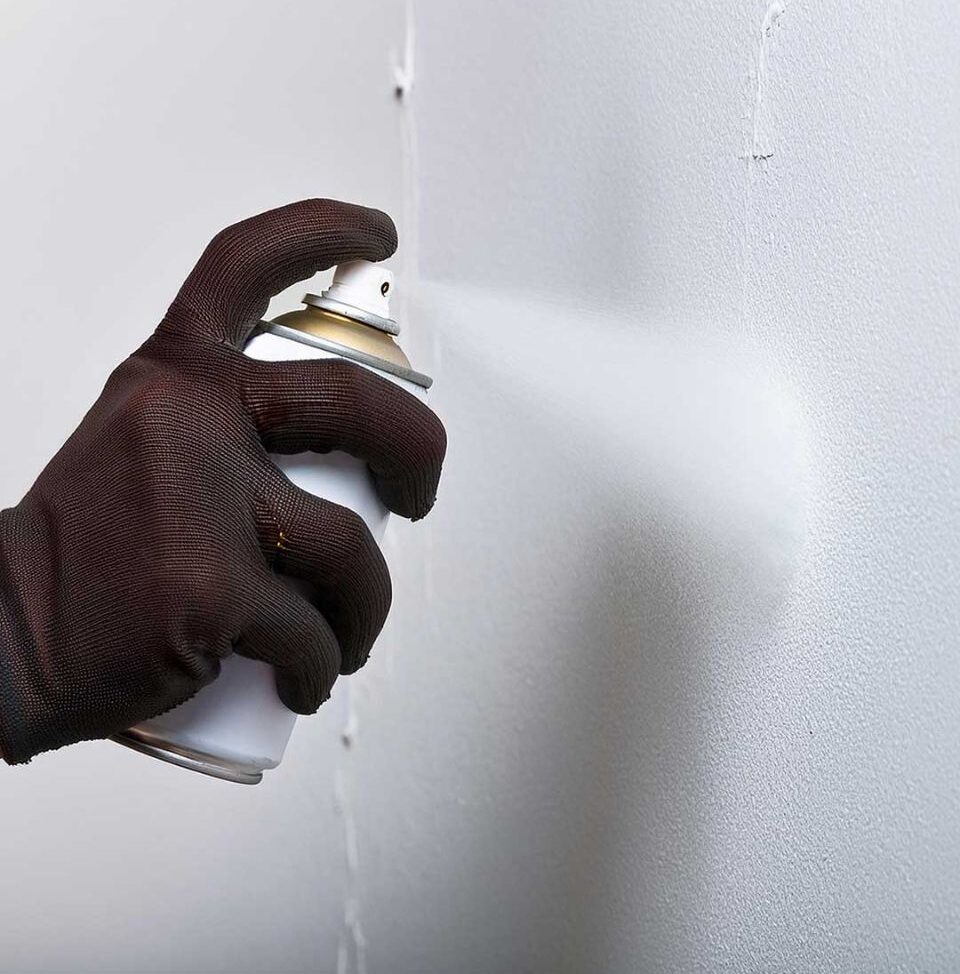
Goodbye Cracks is a spray-on product designed to seal cracks and prevent them from reappearing, especially in areas prone to movement or settling. After cleaning the crack, the spray is applied directly over it, forming a flexible, rubbery seal that can expand and contract with the wall. This product is ideal for small, recurring cracks or hairline fractures. Once dry, the surface can be painted over, offering a quick, easy, and long-lasting solution without the need for additional materials like tape.
4. Applying Joint Compound for Seamless Repairs
Joint compound is essential for creating a seamless repair. After applying drywall tape or patches, use a wide putty knife to spread joint compound over the entire area. Feather the edges to blend with the surrounding wall or ceiling. Let it dry completely. Sand the surface with fine-grit sandpaper to achieve a smooth finish, ready for painting.
5. Replacing Damaged Sections of Drywall
For extensively damaged drywall, replacement is necessary. Mark and cut out the damaged section using a utility knife. Measure the cut-out area and cut a new piece of drywall to fit. Secure the new drywall piece in place using drywall screws and a screwdriver. Apply joint compound over the seams, cover with tape, and smooth it out with more joint compound. Once dry, sand it smooth to match the surrounding surface.
6. Sealing and Repairing Water Damage
Water damage must be addressed promptly to prevent mold growth. Start by identifying and fixing the source of the leak. Cut out the damaged drywall and replace it if necessary. Apply a stain-blocking primer to the affected area to prevent any water stains from bleeding through. Once the primer is dry, you can follow the standard patching and painting steps.
7. Texturing to Match Existing Surfaces
Matching the texture of your repair to the existing wall or ceiling can be challenging. Use a texture spray can or a roller with a specific texture pattern to mimic the existing surface. Practice on a piece of cardboard first to get the technique right. Apply the texture to the repaired area, blending it while it’s still wet to achieve a seamless look.
8. Repainting Repaired Areas
After completing repairs and ensuring all surfaces are smooth and dry, it’s time to repaint. Start with a coat of primer, especially over patches and joint compound. Once the primer is dry, apply paint that matches the existing wall or ceiling color. Use a roller for larger areas and a brush for detail work. Applying two coats will ensure even coverage and a professional finish.
9. Repairing Plaster Walls and Ceilings
Plaster repairs require a slightly different approach. For small cracks, use a patching compound specifically designed for plaster. Clean the crack, apply the compound, and smooth it out. For larger repairs, removing the damaged plaster and reapplying new plaster may be necessary. Apply in thin layers, letting each layer dry before adding the next. Smooth it out and sand as needed.
10. Proper Maintenance to Prevent Future Damage
Prevention is key to maintaining your walls and ceilings. Regularly inspect for signs of damage or water leaks. Address minor issues promptly before they become significant problems. Maintain proper ventilation to prevent moisture buildup. Additionally, consider using durable, high-quality paint to protect against wear and tear.
Conclusion and Final Tips for Successful Repairs
Repairing your walls and ceilings might seem daunting, but with the right tools and techniques, it can be a manageable task. Always start with proper preparation and gather all necessary materials. Take your time to apply and sand repair compounds smoothly. Finally, ensure a good paint job to blend the repair with the existing surface. By following these steps, you can achieve professional-looking repairs and maintain the beauty and integrity of your home.
ADVERTISEMENT
ADVERTISEMENT
ADVERTISEMENT
