ADVERTISEMENT
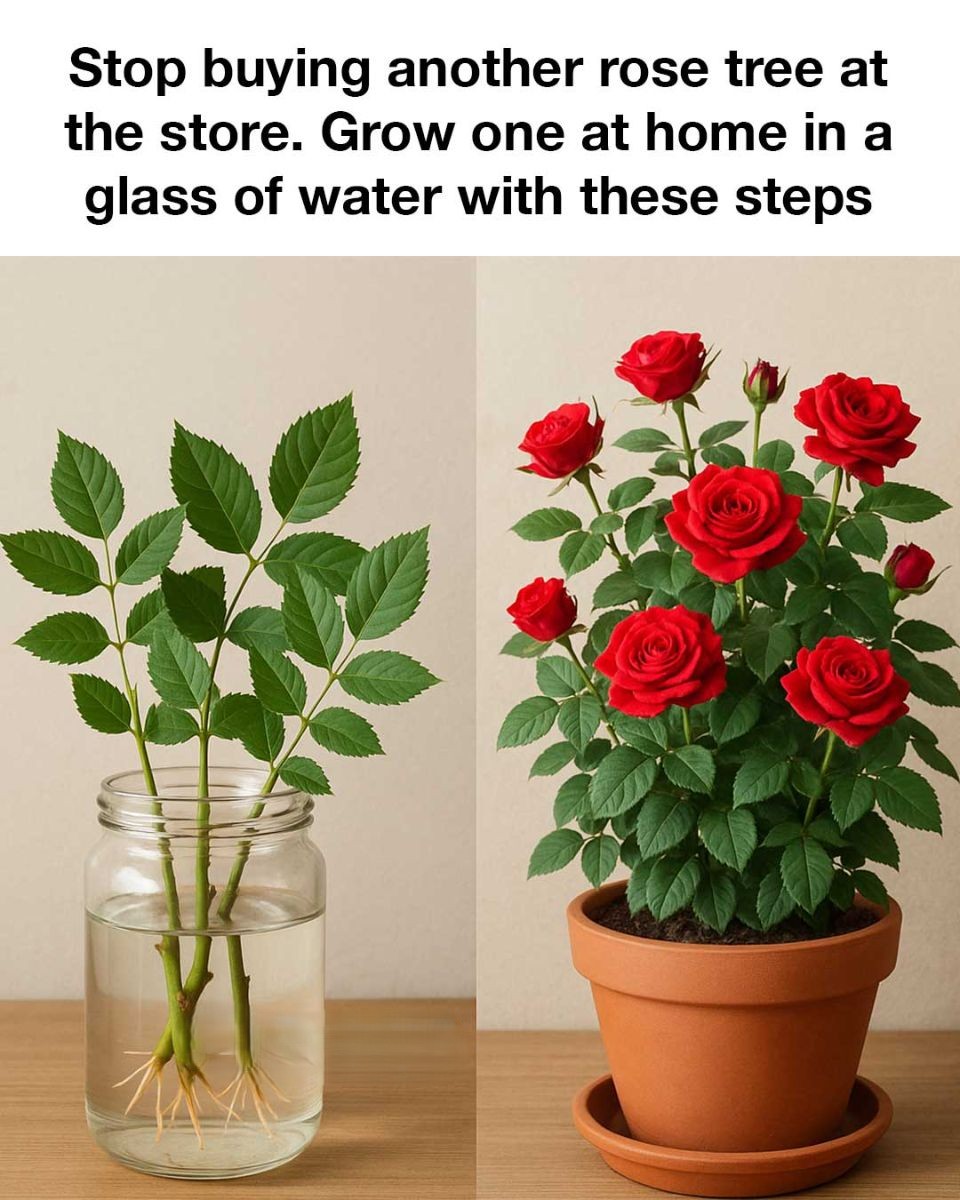
Roses have long been celebrated for their beauty, fragrance, and timeless appeal. But store-bought rose trees can be expensive—and sometimes they just don’t thrive. Here’s a better idea: grow your own rose tree at home using nothing more than a glass of water.
This method is not only cost-effective, but also deeply rewarding. Whether you’re a novice or a seasoned gardener, propagating roses in water is simple, science-based, and satisfying. Here’s exactly how to do it—step-by-step.
1. Why Growing a Rose Tree at Home Is Worth It
Growing your own rose tree offers:
-
Cost savings (skip the pricey garden center).
-
Variety control—propagate rare or heirloom roses.
-
Healthier plants—you manage the growing environment.
-
Personal satisfaction—you nurture a living thing from cutting to bloom.
2. The Science Behind Growing Roses in Water
This technique relies on vegetative propagation, where a new plant is grown from a cutting. It works thanks to auxins—natural plant hormones that promote root development.
Once in water, the cutting forms callus tissue, which eventually sprouts roots. With the right light, temperature, and care, you’ll see new roots form in as little as two weeks.
3. What You’ll Need
Gather these supplies before you start:
-
A healthy rose cutting
-
A clean glass container (clear is best)
-
Non-chlorinated water
-
Sharp pruning shears
-
(Optional) Rooting hormone
4. How to Choose the Right Rose Cutting
Look for:
-
A healthy, disease-free stem
-
6–8 inches in length
-
At least 3–4 leaf nodes
Take the cutting from a stem that has just finished blooming. Cut it diagonally below a leaf node, and strip away any flowers or buds to redirect energy to root formation.
5. Preparing the Cutting
-
Remove the lower leaves—leave a few at the top.
-
Optional: Dip the cut end into rooting hormone.
-
Rest the cutting for 15 minutes to let the base dry slightly before placing in water.
6. Setting Up Your Glass Container
-
Fill the glass with room-temperature, non-chlorinated water.
-
Submerge the bottom 2 inches of the cutting (no leaves underwater).
-
Place in a bright, indirect light spot—no harsh sun.
This setup prevents overheating and inhibits algae or bacterial growth.
7. Maintain Ideal Water Conditions
-
Change the water every 3–5 days.
-
Always keep the cut end submerged.
-
Avoid using cold or chlorinated tap water.
-
Rinse the container regularly to keep algae at bay.
8. Monitor Root Development
see continuation on next page
ADVERTISEMENT
