ADVERTISEMENT
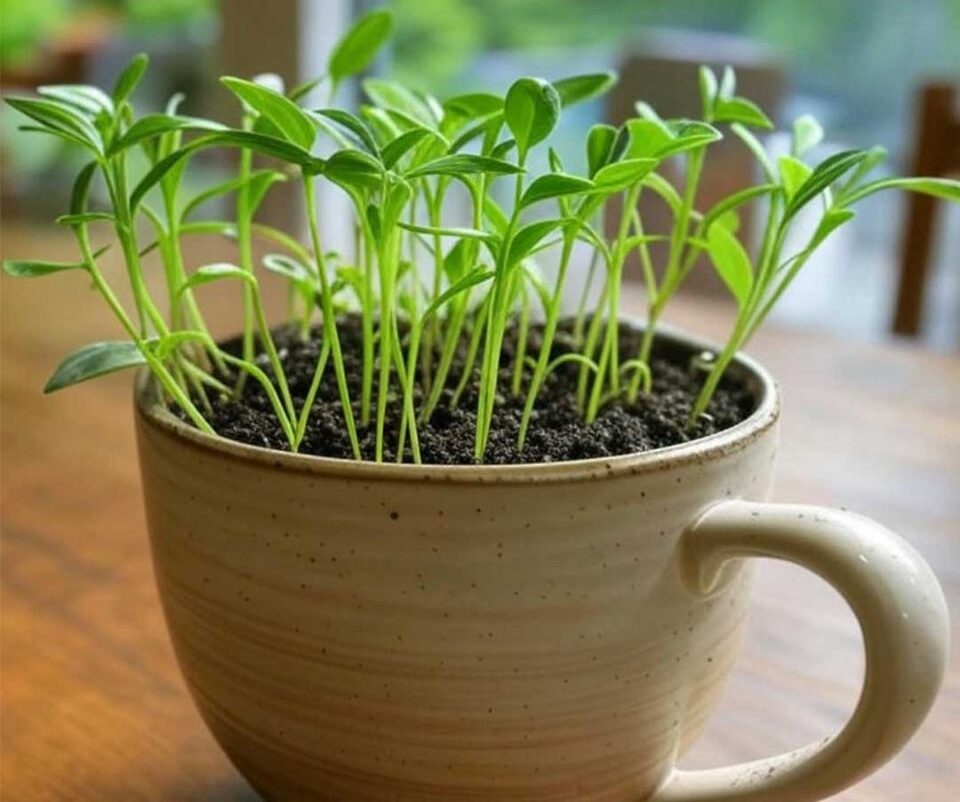
Have you ever walked into a room and been greeted by a fresh, citrusy aroma? Imagine having that invigorating scent in your home, naturally. Planting a lemon in a cup is not only a fun and rewarding project but also a way to bring a touch of nature indoors. This method is perfect for those with limited space or who want to try their hand at gardening without committing to a full-sized plant.
Plus, lemon plants are known for their delightful fragrance, which can help freshen up any room. In this article, we will guide you through the process of planting a lemon in a cup, ensuring you do it right and enjoy the benefits of a fresh-smelling home.
Step-by-Step Guide For Planting Lemon In Cup
Materials
A Fresh Lemon – Choose an organic lemon if possible, as non-organic seeds may be treated with chemicals that hinder germination.
A Small Cup or Mug – A 6-8 ounce cup (ceramic, plastic, or glass) works well. Make sure it has drainage holes at the bottom—if it doesn’t, you’ll need to create them.
Potting Soil – Use a well-draining mix, ideally one designed for citrus or a blend of peat moss, perlite, and compost.
Small Pebbles or Gravel – For drainage at the bottom of the cup.
A Knife or Spoon – To cut the lemon and scoop out seeds.
Water – Preferably filtered or rainwater, as tap water with chlorine can slow germination.
A Small Plate or Saucer – To catch excess water under the cup.
Plastic Wrap or a Clear Plastic Bag – To create a greenhouse effect for germination.
A Sunny Spot – A windowsill with at least 6 hours of sunlight daily is ideal.
Paper Towel – For cleaning and pre-soaking seeds.
Step-by-Step Instructions
see continuation on next page
ADVERTISEMENT
