ADVERTISEMENT
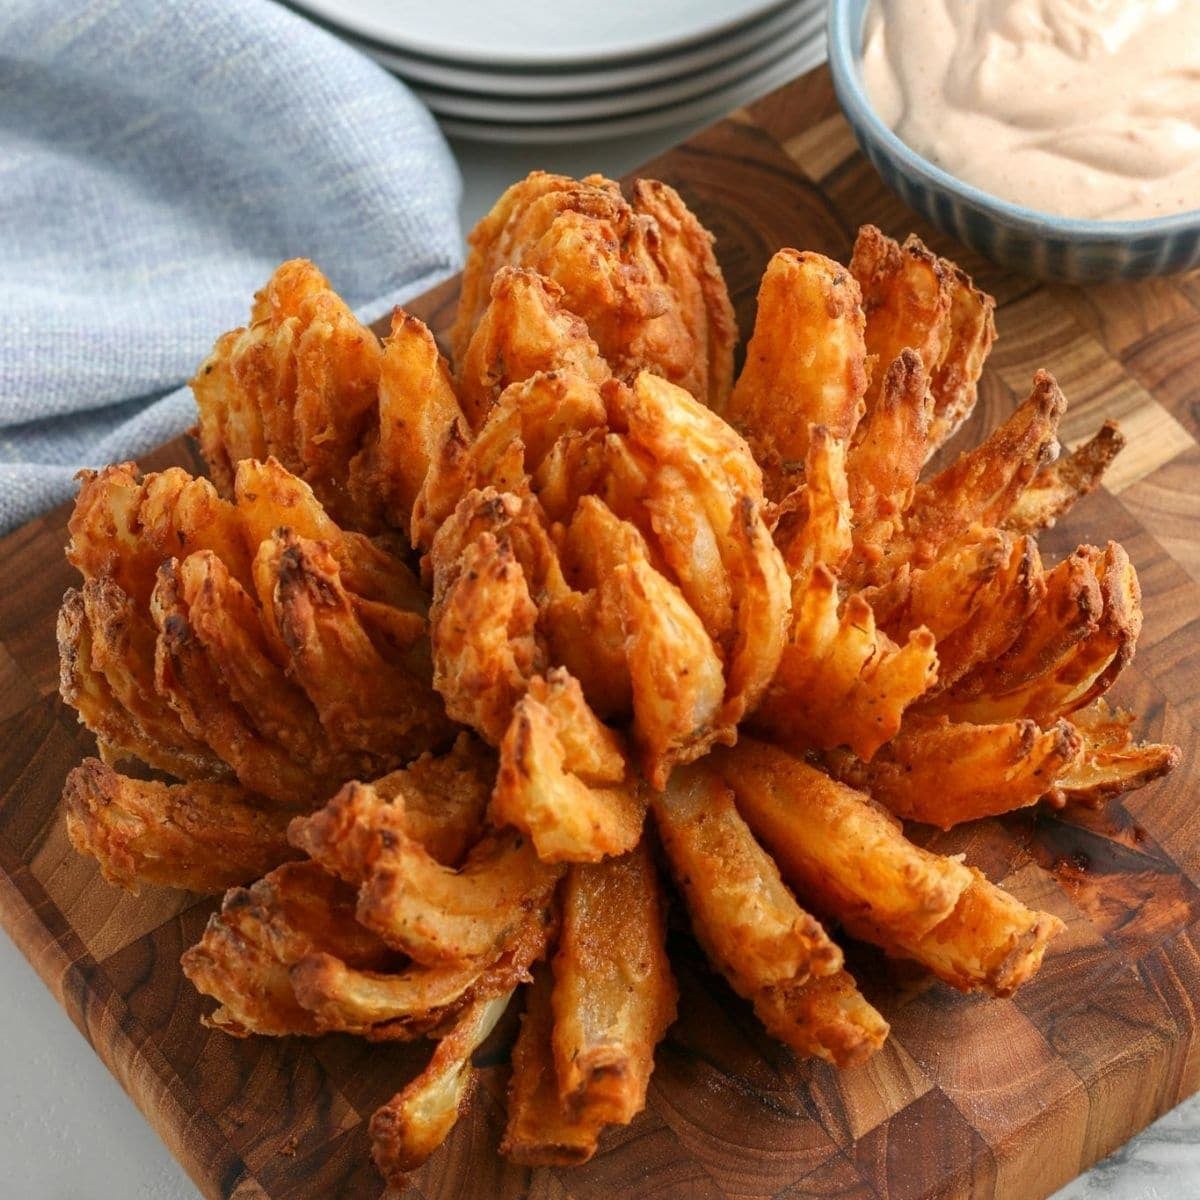
A blooming onion is a crispy, golden appetiser that looks as impressive as it tastes. Traditionally deep-fried, this air fryer version gives you the same crunchy satisfaction with far less oil, making it a lighter yet equally indulgent treat. Perfect for sharing, it’s a crowd-pleaser at parties, game nights, or as a fun starter.
Ingredients
- 1 large sweet onion (Vidalia or similar)
- 2 large eggs
- ½ cup milk
- 1 cup all-purpose flour
- 1 tsp paprika
- 1 tsp garlic powder
- 1 tsp onion powder
- ½ tsp cayenne pepper (optional, for spice)
- 1 tsp salt
- ½ tsp black pepper
- Olive oil spray
For dipping sauce (optional):
- ½ cup mayonnaise
- 2 tbsp ketchup
- 1 tsp prepared horseradish
- ½ tsp paprika
- ½ tsp garlic powder
- Pinch of cayenne pepper
How To Make Air Fryer Blooming Onion
- Prepare the Onion: Cut about ½ inch off the top of the onion and peel. Place it root side down, then make 12–16 vertical cuts evenly around. Gently separate the “petals.”
- Make the Batter: In one bowl, whisk eggs with milk. In another, mix flour with paprika, garlic powder, onion powder, cayenne, salt, and pepper.
- Coat the Onion: Dip onion into the flour mixture, making sure petals are coated. Shake off excess. Dip into the egg mixture, then back into the flour mix for a second coating.
- Air Fry: Preheat air fryer to 180°C (350°F). Place the onion into the basket (root side down). Spray generously with olive oil. Cook for 18–22 minutes until golden and crispy.
- Serve: Mix dipping sauce ingredients together. Serve blooming onion warm with sauce on the side.
You Must Know
- A blooming onion can be messy to coat—work carefully so the petals stay intact.
- Preheating your air fryer is crucial for an even crisp.
- Using a sweet onion ensures the best flavour balance against the savoury batter.
Topping Variations
- Cheesy Twist: Sprinkle grated Parmesan or cheddar halfway through cooking.
- Spicy Version: Add extra cayenne or chilli powder to the flour mix.
- Herb Blend: Mix in dried oregano, thyme, or parsley for extra flavour.
- Gluten-Free: Swap flour for a gluten-free all-purpose blend.
Make It A Meal
Pair your blooming onion with:
- Grilled chicken wings or steak for a hearty platter.
- A fresh green salad for a balanced meal.
- Burgers, fries, or sliders for the ultimate game-day combo.
- A refreshing iced tea or beer to wash it down.
Pro Tips
- Freeze the onion for 15 minutes before coating—it holds the shape better.
- Use cooking spray between coats to help flour stick.
- If petals look too pale, add 2–3 extra minutes of cooking.
- Don’t overcrowd the fryer—cook one onion at a time.
Recipe FAQs
Q: Can I make this ahead of time?
A: It’s best served fresh, but you can cut and coat the onion ahead, refrigerate, then air fry just before serving.
Q: Why is my onion soggy?
A: It likely wasn’t sprayed enough with oil or needed a few more minutes in the air fryer.
Q: Can I make this without eggs?
A: Yes, substitute buttermilk or a plant-based milk with cornstarch as a binder.
Q: What onions work best?
A: Large, sweet onions like Vidalia or Walla Walla work perfectly since they’re mild and easy to cut into “blooms.”
Air Fryer Blooming Onion

- Prep Time: 25 minutes
- Cook Time: 20 minutes
- Total Time: 45 minutes
- Yield: 10 1x
- Cuisine: American
Ingredients
Scale
- 1 large sweet onion
- 1/2 cup all-purpose flour
- 1 teaspoon garlic powder
- 1 teaspoon onion powder
- 1/2 teaspoon paprika
- 1/2 teaspoon Italian seasoning
- 1/2 teaspoon salt
- 1/4 teaspoon chili powder
- 1/4 teaspoon turmeric
- 1/4 teaspoon black pepper
- 1/2 cup milk
- 1 large egg
- 2 tablespoons butter melted
- 1 packet seasoned coating mix 2.5 ounces
- salt & pepper optional
- blooming onion dipping sauce
- oil for spritzing
Instructions
Prepare the onion
-
Start by cutting off 1/2 inch from the top of the onion, then peel the outer skin from the onion.
-
Place the onion cut-side down. Starting about 1/2 inch from the root, make a cut all the way through to the board.
Make sure your knife cuts into the middle of the onion. All your cuts should meet in the middle.
DO NOT CUT THROUGH THE ROOT OR TOO CLOSE TO THE ROOT.
-
Repeat to make four evenly spaced cuts around the onion.
-
Make 1 additional cut between each section until you have 8 evenly spaced cuts.
-
Turn the onion over and set aside for 5 minutes to allow the petals to relax.
-
Prior to breading use your fingers to gently separate the outer pieces.
-
Now that the onion is open it’s time to bread it to get that crispy coating.
-
If any of the “petals” are stuck together, gently separate them so the onion can be in “full bloom.”
Bread the onion
-
Whisk the flour and spices in a large bowl. In a small deep bowl, whisk the egg, butter, and milk.
-
Place the onion in a large clean bowl, cut-side up and separated.
-
Sprinkle the flour mixture over the onion getting in between the layers. I used a fork to sprinkle the flour mixture, and used my fingers to separate each individual layer and sprinkle the flour between every petal.
-
Dump the remaining flour over the whole onion. Let it sit for a few minutes.
-
Turn the onion over and gently pat off the excess flour back into the bowl. Reserve the remaining flour. You want to make sure the flour coats the petals without leaving large clumps of flour in between the petals.
-
Transfer the onion into a large bowl and pour the egg mixture over the onion and coat evenly. Pouring over the onion helps it to get in between the petals and coat the flour.
-
Open each petal to make sure the egg mixture soaks every bit of flour between the petals. Let the onion sit in this mixture for a few minutes. Remove the onion from the bowl and let the excess drip off.
-
Add the packet of seasoned coating mix to the leftover flour mixture. Place the wet onion into an empty bowl or onto the aluminum foil and sprinkle the reserved flour and coating mixture over it. Do not sprinkle in between those petals as it will be difficult to spray with cooking oil afterwards. However, sprinkle the flour and breading mixture over every part of the onion that is exposed to the air. I will even brush more egg mixture over drier parts of the onion to get as much mixture there as possible.
-
Place the onion into the refrigerator to set while you preheat the air fryer.
Air fry the onion
-
Preheat the air fryer to 300F.
-
After ten minutes, remove the onion from the refrigerator and spray generously with cooking oil. This is important to help get that “deep fried” flavor and texture. Be sure to soak all the flour mixture with cooking oil that you can see. You can also check in between the petals and spray any other flour spots you see.
-
Place on a piece of foil for easy removal after cooking.
-
Air fry 20 minutes or until crispy and golden brown. Open and spray at least once with more cooking oil during the cooking process.
-
Remove gently and serve with Blooming Onion Dipping Sauce.
Notes
- Make sure you coat the individual layers of onion in flour to maximize the crispy outside. You might have to help them open to get the best spread.
- You can get 12-20 slices depending on the size of the onion if you want, but I found it to be more difficult to deal with that many petals. I prefer 8 petals for maximum crispness.
- Slicing the onion is dangerous so make sure you are doing it on a flat surface like a cutting board for stability.
- Give the onion plenty of time to open so each onion petal gets coated.
- You can substitute some or all of the milk for beer in the egg wash for a slightly different flavor.
- Spray the onion multiple times during the cooking process and use a fork to pry the petals open if they look like they aren’t spreading enough or the inside will be gluey.
ADVERTISEMENT
